What you'll learn
- The three-tab layout of the Image Processing Tool
- Operations common to all tabs (check & exclude, multiple sessions, drag-and-drop)
- What each tab is for
What is the Image Processing Tool?
The Image Processing Tool is where you finish captured (or existing) images. You can upscale image quality, run OCR, refine and edit text, and export to ePub or PDF — all from this single window.
To open it, click Image Processing Tool in the main window. If you just finished a capture session, it opens with that session already loaded. You can also bring in images from your computer by dragging and dropping them (see below).
Three tabs
Use the tabs at the top of the window to switch between stages of your workflow. Generally, you work from left to right.
| Tab | What you do here |
|---|---|
| 1. Image Processing / OCR | Review images, run AI upscaling, and perform OCR (text recognition). |
| 2. Text Editing | Review and edit OCR results; apply AI refinement and translation. |
| 3. ePub Creation | Build an ePub from your refined text and images. |
Each tab is summarized in the "Tab-by-tab guide" sections below. For detailed instructions on OCR and AI refinement, see OCR, AI Refinement, Translation & Custom Prompts. For ePub export, see ePub Creation.
Operations common to all tabs
The following features are available in every tab.
Check and exclude to select images
Each image has a checkbox. Only checked images are included in OCR processing and ePub export. Uncheck any cover pages, unwanted pages, or missed shots to leave them out of the final output.
Working with multiple sessions
Each capture or import creates a session folder inside your save destination (capture_… for captured sessions, uploaded_… for drag-and-drop imports, etc.). Sessions are fully independent — each one keeps its own OCR results and checkbox states.
Importing images by drag and drop
You can import images from your computer by simply dragging and dropping them onto the Image Processing Tool. The imported images are loaded as a new session and can be processed with OCR and exported to ePub just like captured images.
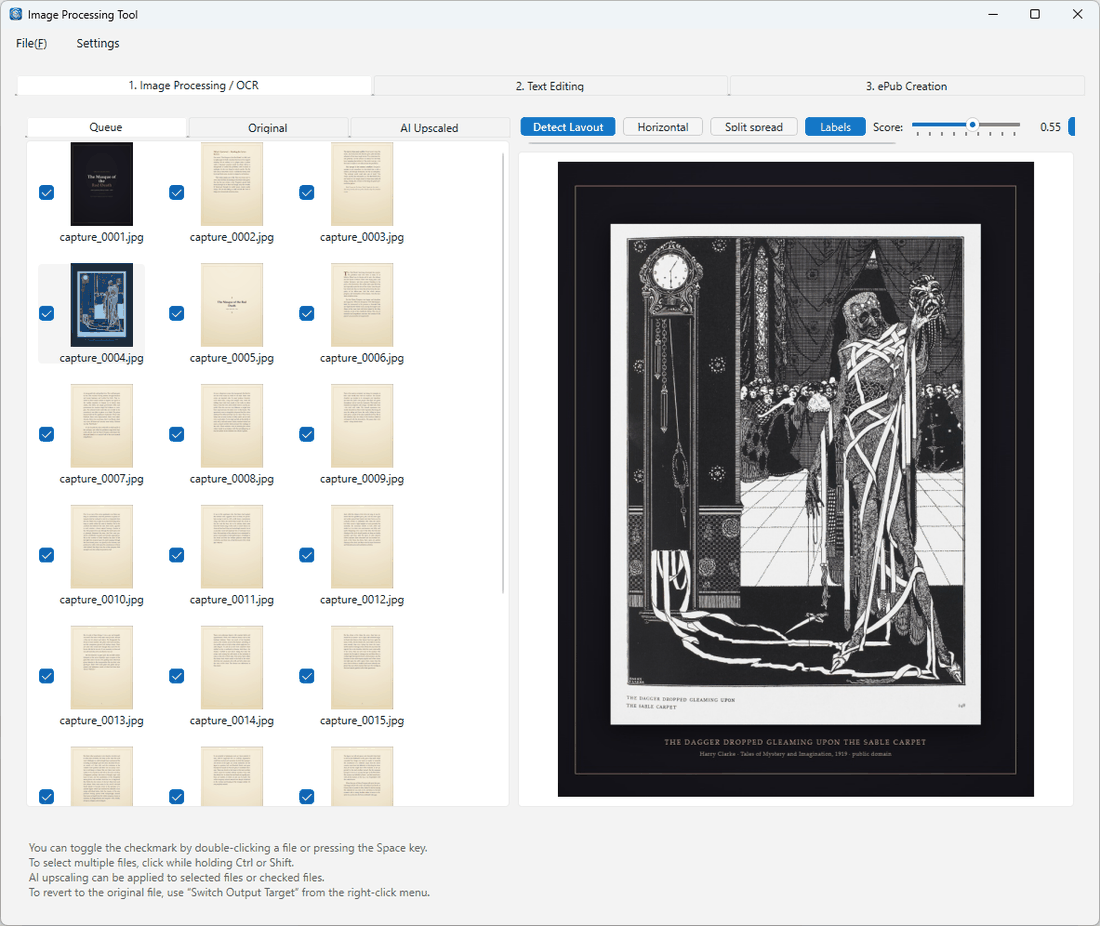
1Image Processing / OCR tab
This is the first tab. Review your images, apply AI upscaling, and run OCR (text recognition). Three sub-tabs let you switch between different views of each image.
- Queue — The image currently selected for output (either the original or the upscaled version, whichever is active).
- Original — The image exactly as captured.
- AI Upscaled — The image after AI upscaling.
AI upscaling sharpens and enlarges images using on-device processing (no internet required; available on all plans). Right-click a thumbnail in the left panel to run it.
2Text Editing tab
This is the second tab. Review and edit the text recognized by OCR, and apply AI refinement and translation. You work with two layers — the OCR Result (draft) and AI Refined — and can switch between them at any time.
For full details, see OCR, AI Refinement, Translation & Custom Prompts.
3ePub Creation tab
This is the third tab. Create an ePub from your refined text and images (Pro and above). You can configure bibliographic metadata, chapter structure, table of contents, and more before exporting.
For full details, see ePub Creation.
Exporting as PDF
Use Merge PDF in the Image Processing Tool to combine all checked (or selected) images into a single PDF file (Pro and above).
With Unlimited, the exported PDF includes embedded OCR text, producing a searchable PDF where you can select and search the document text.